![]()
1) Install the Business Card Reader for SuiteCRM + Create an Account
Go to the “Google Play” on your phone, download the Business Card Reader for SuiteCRM for free. When you launch the app, you need to authorize using your Google Account.
![]()
2) Set up the integration with your SuiteCRM
To set up the connection between the application and your CRM account you need to enter the CRM URL from your Account, your Username and Password. To get the CRM URL you need to:
-
- Login to your SuiteCRM website;
- Copy and paste your URL into the corresponding field
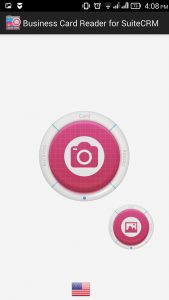
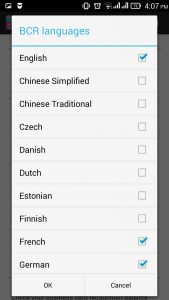
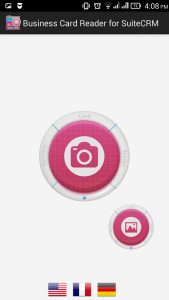
3) Choose the recognition language + Scan Business Card
At the bottom of the wizard screen click on the “flag” icon, choose the recognition language and click “OK”. Useful hint! You can choose maximum 3 languages. You can recognize a business card by clicking the “Camera” icon or from the “Gallery” by clicking the “Image” icon below.
Important note: Prior to scanning don’t forget to check if you have a tick on “Upload Card Image” in “Preferences” menu if you want the image to be saved into your CRM directly!
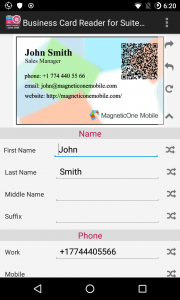
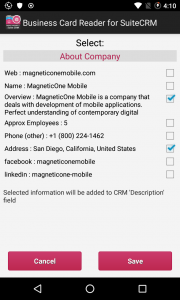
4) Check/Edit the scanned info + Enrichment
After you scan the business card info you are able to check the info plus insert new information. If you want to enrich data you need to click on “Get more” button. You can get additional person’s info: social network account, company name, department etc. You can choose from the list what data you want to add and click “Save”. All this information will be automatically added to your recognized info.

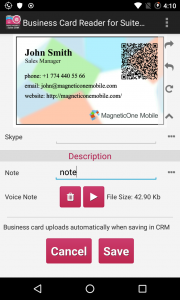
5) Add a note or a voice note
In case you have additional information you want to add you can make a note or record a voice note. Pay attention: The note will be saved to your CRM, but the voice note will be sent to Amazon S3 server (you will have a link to that record in your CRM).When you add all data you want simply click “Save” data will be sent to the CRM.
6) Saved info + Business Card Image
You can check the scanned info in “Leads” or “Contacts”. There you can choose the scanned person’s info. In the “Comment“, you can find the link to the scanned business card. In the Business Card Reader for SuiteCRM is available feature to upload card image with info. You just need to activate this feature in the Preferences of the application. This also available in the Suite CRM. Follow the next steps: Choose lead that you want –> scroll down and find “History” –> there you are able to see saved business card image.If you have any questions or need assistance, please feel free to email us from the application “Preferences” => “Support Request“.
Share it
Leave a Reply
You must be logged in to post a comment.